In Thoughts
A Beginner Designer’s Checklist Before Starting a Web3 Project

Web3 is often described as the next generation of the internet: more decentralized, with users having greater control over their own data and digital assets. It sounds exciting and, for me, it feels like a new wild animal in town. Behind all the jargon that comes with it, there’s a huge design challenge we can ask ourselves as designers:
How do we make these new concepts understandable for ordinary people through clear, safe, and non‑confusing user experiences?
Coming from a Web2 design background, I only recently realized how important it is to have my own checklist before designing any Web3 product. That is what I want to share in this blog post: a practical kit for beginner designers who are just starting to work in Web3.
Learn Just Enough Web3 to Follow the Conversation

The first thing that felt really hard for me when starting in Web3 was understanding all the new terms. Especially the financial/technology stuff that feels very different from Web2, even if some concepts are similar with different layers and meanings. You don’t need to overthink this or become an expert before you start. You can learn as you go — but you do need a shared vocabulary with your team. Without this, every meeting feels like a different language, and it becomes harder to make good UX decisions.
Here are the core concepts I recommend understanding at a high level:
Wallet vs account
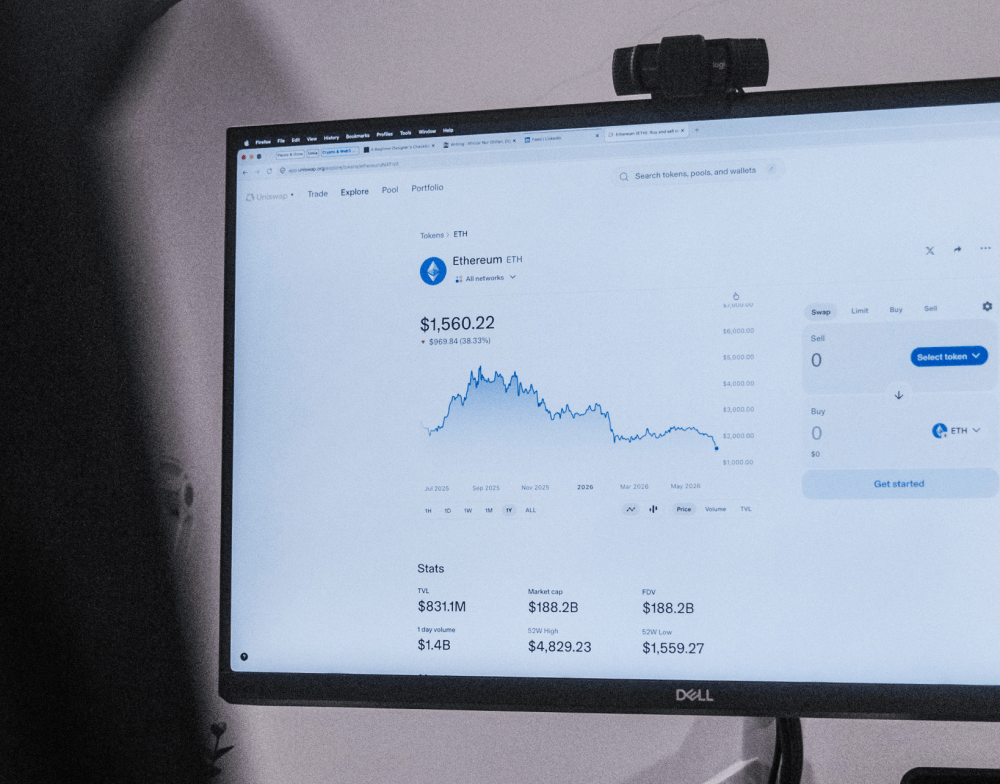
In Web2, users of a system “create an account” with email and password. In Web3, they usually “connect a wallet.” A wallet (like MetaMask, Phantom, or Rainbow) is both an access method and a container for their assets and identities. When your UI shows “Connect wallet”, you’re effectively asking a user to log in and potentially authorize access to their funds.
Some systems let users sign in using email, but this is still relatively rare. Many Web3 users are also very aware of security and scams, so they tend to be careful about what information and permissions they give.
Public address vs. private key / seed phrase
A public address is like a bank account number: it’s safe to share and used to receive money or other assets. The private key (or seed phrase) is closer to a master password; if a user loses it or someone else gets it, there is usually no customer support that can restore or reset it. This is very unintuitive for regular users (including me at first), but it’s how Web3 is designed to work. Because of that, there are big UX implications for how you communicate about backup, security, and recovery.

On-chain vs off-chain
Some actions and data are written “on‑chain,” meaning they are written into a complex, connected database called a blockchain, while others stay “off‑chain,” for example in your own database or a third‑party service. On‑chain actions are slower, often cost money (a fee) to run, and are difficult or impossible to reverse. From a UX point of view, this means users deserve more warnings, confirmations, and clear states in your UI when something is happening on‑chain.
Networks and chains
In my experience before Web3, I only knew “staging” and “production” as environments for products. In Web3, there are concepts like Ethereum mainnet, layer‑2 networks, sidechains, and testnets — different environments that a wallet can connect to. A user being on the wrong network is one of the most common sources of confusion, so as a designer you’ll often need to indicate the current network clearly and guide users if they need to switch.
Gas and transaction fees
Every on‑chain transaction consumes “gas”, a fee paid to the network. Gas fees fluctuate depending on network congestion and the complexity of what the transaction does. In UX terms, this means you may want to:
- Indicate when fees might be unusually high.
- Clarify whether a particular action will cost gas, or is just a free signature.
If you can explain these concepts in your own words — even just with a basic grasp — you’re already in a much better position to ask the right questions, spot risky flows, and translate technical constraints into clearer user experiences.
Clarify the Product and the Users First
Before opening any design tools, it really helps to step back and ask: who are we designing for, and what are they actually trying to do? Web3 is not one thing; a decentralized finance dashboard, an NFT marketplace, a DAO tool, a futarchy mechanism, and a crypto game all come with different risks and expectations.
Some questions I find useful at this stage:
- Are our users crypto‑native, curious but inexperienced, or complete beginners who might not even have a wallet yet?
- Is this product about trading, lending/borrowing, governance/voting, gaming, NFT collecting, mixing multiple protocols, or something else?
- How expensive are mistakes in this context? Can users lose real money, reputation, or just a bit of time?
The answers shape everything — from how much education you need in the interface to how aggressive you can be with advanced controls and settings. This was also my dilemma in my first project: I felt every part of the product needed a lot of explanation for beginners, but the users we were targeting actually had prior Web3 experience.
For example, Ethereum design resources emphasize starting from user research and understanding needs before talking about visuals, which is even more crucial in Web3 because of the higher stakes.
Map the Critical Flows Before Designing
In Web3, a bad flow isn’t just annoying — it can lead to irreversible mistakes or lost funds. That’s why mapping flows before designing screens is crucial. A good Web3 UX usually starts from the “moments of risk”: connecting a wallet, signing something, and sending or moving assets.
At minimum, try to map these flows in a simple diagram or even on paper:
- First‑time experience and onboarding: Decide what a brand‑new visitor sees, whether they can browse in a “read‑only” mode, and at which point you ask them to connect a wallet or create one.
- Connect wallet flow: Outline what happens when the user clicks “Connect wallet”: which providers you support, and what happens if they close the popup, don’t have a wallet, or are on an unsupported network.
- Key transaction or interaction flow: For the main action in the product (swap, stake, mint, buy, vote, etc.), list every step: preview, approval, confirmation, waiting, success, fail, and any follow‑up actions.
- Error and retry paths: Consider what happens if the user has insufficient funds, doesn’t have enough gas, chooses the wrong network, or rejects a signature; then decide how your UI will recover gracefully.
Doing this early helps us as designers see and highlight where the user’s money or assets are at risk. Those are the moments where you’ll want extra clarity, confirmations, and trust signals later.
Design for Clarity and Safety
Once you understand the flows and risks, the core design challenge is to make them feel clear and safe without overwhelming users with technical detail. This is something I personally struggled with the first time working on a Web3 product. As a beginner, I felt every part of the product should be as helpful and detailed as possible for me — but that’s not always correct.
A useful rule for me is:
Show just enough information for a safe decision right now, and reveal advanced detail on demand
Some ways to do that:
- Delay commitment where possible: Don’t force login with a wallet on the landing page if you don’t need to. Let users explore, read, or try a limited mode first, especially if they’re beginners.
- Use clear transaction previews: Before a user confirms anything, show a plain‑language summary of what they are about to do, instead of only showing the raw wallet popup.
- Expose complexity progressively: Present a simple summary first that explains what the user will do, like “You’re swapping 100 USDC for about 0.05 ETH,” with advanced details (routing, multiple data points that affect the action, etc.) behind an expandable details section.
- Make wallet, network, and permissions visible: It should be obvious which wallet is connected, which network is active, and what permissions the app is requesting—for example, whether an approval lets the app spend tokens on the user’s behalf.
- Communicate fees and risk honestly: If fees may be high or an action is irreversible, say it clearly in the UI, in language a non‑technical user can understand, rather than hiding it deep in technical copy.
- Support verification for advanced users: Links to block explorers, audits, or docs can reassure more advanced users that the system is doing what it claims, without forcing that information on everyone.
Clarity and safety often matter more than clever visuals: users need to know what’s happening and what could go wrong before they click.
Handle states, errors, and messages well
Web3 interactions involve a lot of waiting and uncertainty like wallet popups, network delays, pending transactions, so your in‑between states matter as much as your main screens. If you skip them, the app will feel broken or unsafe even when it’s technically working.
Some things to design explicitly:
- Actions vs. process states: Separate moments where the user needs to do something (click, confirm, sign) from system states like “pending”, “confirmed”, or “failed,” and represent each clearly.
- Pending and loading: When a transaction is pending, show a clear status indicator, progress, or stepper so users know something is happening and don’t spam the action again.
- Success with clear impact: Don’t just show “Success.” Explain what changed and offer obvious next steps (for example, “View your NFT,” “See updated balance,” or “Make another swap”).
- Error messages with recovery: General UX guidance still applies: error messages should be visible, specific, polite, and provide concrete recovery actions like “Switch network”, “Add more gas”, or “Try again.”
- Microcopy as part of the UX, not decoration: A lot of Web3 confusion is caused by unclear labels like “Sign message”, “Approve spending”, or “Insufficient gas”. Replacing them with clearer explanations can dramatically improve understanding.
Thinking of the UI as an ongoing conversation with a slightly anxious user can help you write better states and messages.
Work with Your Team and Keep Learning
Because Web3 combines many mechanics, no single person has the full picture by default, so collaboration is key. Some questions we can bring to devs and PMs:
- Which networks and chains does the product support, and what are common network‑related errors?
- For the main user actions, which parts are on‑chain and which are off‑chain?
- After a transaction succeeds, what data can we show to reassure users and help support debug issues later?
You don’t need to understand every technical detail; even simple flow diagrams or sequence sketches can give you enough context to design robust states and safety nets.
On the learning side, a realistic path looks like:
- As always, dogfooding your product by being your own user is the best way to feel what good and bad UX is like when you’re the one signing transactions and waiting for confirmations.
- Collect patterns and anti‑patterns as you go, like screenshots of wallet flows, onboarding, and transaction states that felt particularly clear or confusing.
- Over time, you’ll build your own mental pattern library and refine a personal checklist that fits the kinds of Web3 products you work on.
Closing Thoughts
I wrote this checklist while navigating my own first Web3 project, trying to connect the dots between familiar Web2 UX principles and all the new constraints that come with wallets, networks, and irreversible transactions.
If you’re also a beginner designer stepping into Web3, I hope this shorter guide gives you a clearer starting point and a few concrete questions to bring into your next project. And… If you’ve seen other patterns, mistakes, or lessons in your own work that I haven’t experienced yet, feel free to add to this — treat this checklist less as a final answer and more as a living document we can keep improving as Web3 UX matures.
Read next
In Thoughts
Mana yang Lebih Worth It Figma MCP vs Figma Console MCP?
Dengan AI yang mulai merambah tidak hanya ke workflow developer tapi juga ke cara kerja desainer sehari-hari, ada satu pertanyaan yang sering muncul: Bagaimana...
In Thoughts
Pretext and the Problem I Didn't Know Existed
I have been building web and mobile UI for a while and… I thought I had a decent reads on how browsers actually work under the hood. Then I came across Pretext...