In Development
Shiki for Syntax Highlighting in Next.js

When building the writing page for my site, I wanted code blocks that felt polished and professional without sacrificing performance. I needed a solution that was easy to customize and simple to implement, yet kept the site feeling fast.
After weighing the usual suspects, I landed on Shiki. Here’s why it changed the way I think about code on the web.
The Problem with Client-Side Highlighting
Most traditional syntax highlighters like Prism.js and Highlight.js work by shipping JavaScript to the browser that parses and highlights code after the page loads. This approach has some significant drawbacks:
- Bundle Bloat: Every language you support adds extra kilobytes to your JavaScript payload.
- Layout Shift: You often get that annoying "flash" where code starts as plain text and suddenly jumps into color.
- Performance Debt: The browser has to do the heavy lifting of parsing code tht really should have been finished before the user even arrived.
- Outdated DX: Many older libraries feel like they were built for a different era of the web. Their documentation and implementation patterns can feel clunky compared to modern frameworks.
For a blog built on Next.js Server Components, I wanted a "server-first" approach.
Introducing Shiki
Shiki is a bit different from the tools I mentioned before. Instead of being a plugin that runs in the background of your website, it’s a highlighters that feels much more modern.
The best way to think about it is this: Shiki uses the same "brain" that powers VS Code. If you’ve ever noticed how perfect your code looks in your editor. the colors, the way it handles different languages, the themes—that’s exactly what Shiki brings to your blog.
Why Shiki Just Worked for Me
No Extra Weight
The biggest win is that Shiki runs entirely on the server. Usually, adding a code highlighter means forcing your readers to download extra files just to see colors. With Shiki, the "coloring" happens while the site is being built. By the time it reaches your screen, it's just plain, fast HTML. My site stays lean, and the code looks great instantly.
VS Code Theme Compatibility
Shiki works with the same themes you use in VS Code–cursor or whatever. I didn't have to spend hours fighting with CSS to get the colors right. I just told it to use the "GitHub Light" and "GitHub Dark" themes, the same ones I use every day when I'm actually coding.
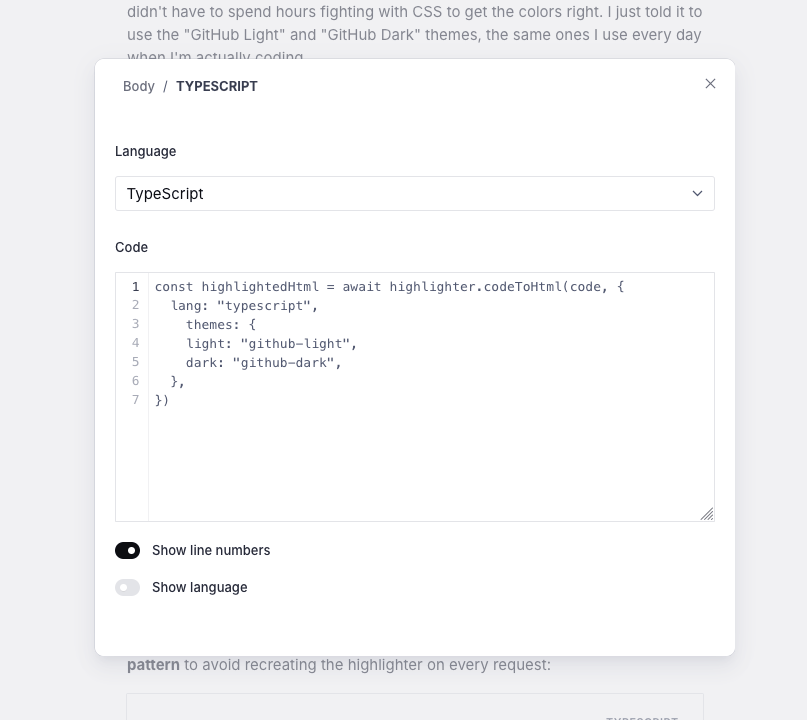
Multi-Theme Support
With Shiki's dual-theme feature, we can render different colors for light and dark modes in a single HTML output:
const highlightedHtml = await highlighter.codeToHtml(code, {
  lang: "typescript",
    themes: {
    light: "github-light",
    dark: "github-dark",
  },
})
This produces CSS variables that automatically switch based on the user's color scheme.
How I Put It Together
Here's how I integrated Shiki into our Next.js + Sanity setup. I use a singleton pattern to avoid recreating the highlighter on every request:
import {
    createHighlighter,
    type Highlighter
} from "shiki"

let highlighterSingleton: Promise < Highlighter > | null = null

function getHighlighter(): Promise < Highlighter > {
    if (!highlighterSingleton) {
        highlighterSingleton = createHighlighter({
            themes: ["github-light", "github-dark"],
            langs: [
                "typescript",
                "javascript",
                "tsx",
                "jsx",
                "css",
                "html",
                "json",
                "bash",
                "markdown",
                "python",
                "rust",
                "go",
            ],
        })
    }
    return highlighterSingleton
}
Then in our Portable Text helpers, I process code blocks from Sanity:
if (block._type === "code" && typeof block.code === "string") {
    const highlighter = await getHighlighter()
    const lang = block.language || "text"

    const highlightedHtml = highlighter.codeToHtml(block.code, {
        lang,
        themes: {
            light: "github-light",
            dark: "github-dark",
        },
    })

    return {
        ...block,
        highlightedHtml
    }
}
The key here is that I only load the languages I actually need, keeping the highlighter lightweight while supporting everything I write about.
The Trade-offs
Of course, Shiki isn’t perfect. Like any tool, there are a few compromises I had to accept:
- Slower Build Times: Because Shiki is so thorough about how it "reads" your code, it takes a little longer to process than simpler tools. For a blog like this, that extra few seconds during the build is a fair trade for better performance for the reader.
- Language Support: While Shiki supports over 100 languages (which covers everything I’ll ever write), some older libraries have a slightly larger collection.
- Inline Styles: Shiki puts the color styles directly into the HTML code. This means if you want to switch themes, you have to let Shiki know so it can generate the right code, rather than just swapping a CSS file.
Final Thoughts
Shiki has been a perfect fit for my site. It follows the same "server-first" philosophy I used for the rest of the blog, it looks exactly like my favorite code editor, and most importantly, it adds zero extra weight for my readers.
That said, I’m still exploring its limits. As a designer who is excited about where AI development is going, I’m currently playing around with how to handle more visual details—like adding line numbers or highlighting specific lines of code.
The cool thing about Shiki is that it doesn't force a "one-size-fits-all" style on you. It gives you the raw ingredients, and you get to decide how to style the final result.
Read next
In Development
Fixing OpenRouter Latency with Cloudflare Worker Region Pinning
Welcome in another technical note where I write my problem of doing things, and write the solution to capture the trail! So basically, I ran into an issue when...
In Development
Flexbox Bukan Jawaban untuk Semua Masalah Layout
Satu dua keluarga kodok, tiap hari bikin layout pakai Flexbox Semenjak Flexbox hadir di tahun 2015, layouting menggunakan CSS semakin dipermudah. Penggunaan...